Table of Contents
Here Are Detailed Instructions On How To Connect The Ethernet Cable From The Modem To One Or Two PCs What The Benefits Are.
The connection with an Ethernet cable between two PCs or to connect your device directly to the modem is a rather wise choice, which reserves a series of real advantages for those who can and want to put it into practice. The Ethernet connection is very useful for quickly transferring data between two devices and, if chosen for navigation purposes, to make the most of your home connection speed.
consequently bypassing all the limitations imposed by the more classic Wi-Fi. Both procedures are quite simple, and in this guide, we will therefore understand together step by step how to connect the PC with the Ethernet cable to another personal computer or the network.
Connection With Ethernet Cable Between PC And Modem
To connect the PC with the Ethernet cable to the modem our device must have a specific port in which to insert the cable plug. Just connect the PC to the modem to start surfing without entering any password, as is the case with Wi-Fi. The steps are really basic, but it is important to make sure that the correct cable is used and that our personal computer has a port compatible with this type of cable.
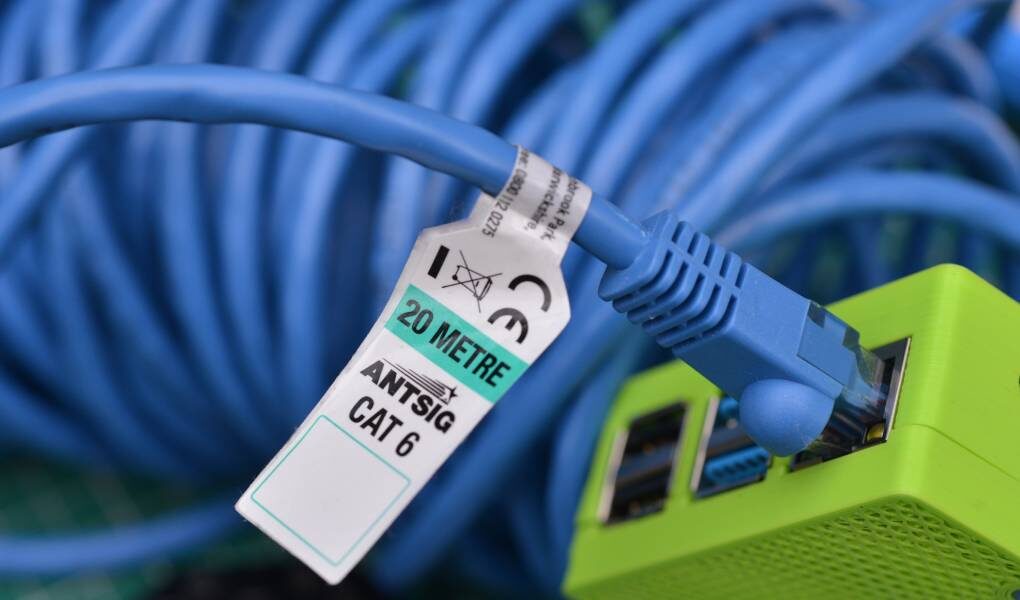
Fortunately, the Ethernet cable is almost always provided by telephone operators supplied with the modem, but alternatively, it can be purchased separately for a few euros. Recognizing it is easy, as it has two identical plugs at both ends, these are two RJ45 / 8P8C plugs.
In this regard, before getting to the heart it is important to remember that Ethernet cables, although aesthetically similar, can offer very different performances.
At present, the most common and preferred configuration for connection with Ethernet cable between PC and modem is the one identified with the initials EIA / TIA-568B. To make the desired connection, you must then insert the Ethernet cable into the compatible port of your PC and that of your modem.
Usually, the modems that are entrusted to us by the providers have 3 or even 4 Ethernet ports, while the PCs have only one available. As for desktop PCs, this is found in most cases at the top of the device. In laptops, however, it can be identified on one side.
If you have done everything correctly, you will notice that the LEDs located at the door will light up. This is a positive signal, which indicates that communication between the two devices has started. On a Windows 10 PC, you can then check the connection to the Internet via the Start menu: click on the gear button to open the settings panel, and click on the “Network and Internet” icon.
The item “View network properties” present a little further down allows you to also view the properties of the network to which you are connected, from the IP address to the network mask. Also for Macs, you can do the same, using the macOS system preferences, clicking on the gear icon, and clicking on the “Network” icon, located in the screen that opens. You will notice the Ethernet entry on the left side of the window, which should have a green dot.
If your PC is not equipped with a port for the Ethernet connection, you can rely on two alternatives. The first is the aforementioned network connection in Wi-Fi, for which a password must be entered if the wireless network is protected. The second is to choose to buy an adapter that allows you to connect the Ethernet cable to another input port on your computer, available at any retailer specializing in consumer electronics.
How To Connect Two PCs With Ethernet Cable
Thanks to the Ethernet cable, it is also possible to connect two computers to transfer files. The procedure is indifferent, whether we want to connect the laptop to the fixed PC or whether we want to create the connection between two laptops: however, both PCs must have a LAN port to insert a cross-type Ethernet cable. Again, the steps are very simple, namely:
- Go to “Control Panel, then to” Network and Internet “, to” Network and Sharing Center “, and finally to the” Change “settings tab
- In the “Network Connection” window you will find the “Ethernet” item, on which you can right-click to access the “Properties” menu
- In the Network tab, you will then have to select “Internet Protocol version 4 (TCP / IPv4)” and then click again on “Properties”
- Here you will need to enable the “Use the following IP address” item and enter the code 192.168.0.1 in the IP item and 225.225.225.0 in the ” Subnet Mask
Of course, for the connection between the two PCs to be successful, you will have to perform all the same steps on the second computer as well, setting the IP with the code 192.168.0.2, keeping the one for the Subnet Mask unchanged. The crossed network cable, to close, must be inserted in both PCs to transfer the files of our interest
The Advantages Of Connecting With An Ethernet Cable
Many people prefer the connection with an Ethernet cable to make the most of their internet network. If the advantages of the connection between two PCs are evident and linked only to the immediate transfer of data, for navigation these are strictly attributable to the connection speed.
The wired connection is usually faster and less prone to interference than the wireless one, with the Ethernet portable to guarantee data transmission up to 1 Gbps, which is the maximum for most fiber-optic connections.
Also Read: The Best Apps For Voice Chat